
Get the Most out of Your PTZ Camera:
7 Steps for an Optimal Image
This guide will help you achieve stunning image quality with the right resolution, focus, brightness, color and motion settings. From live streaming to professional conferencing and content creation, optimal settings make all the difference.
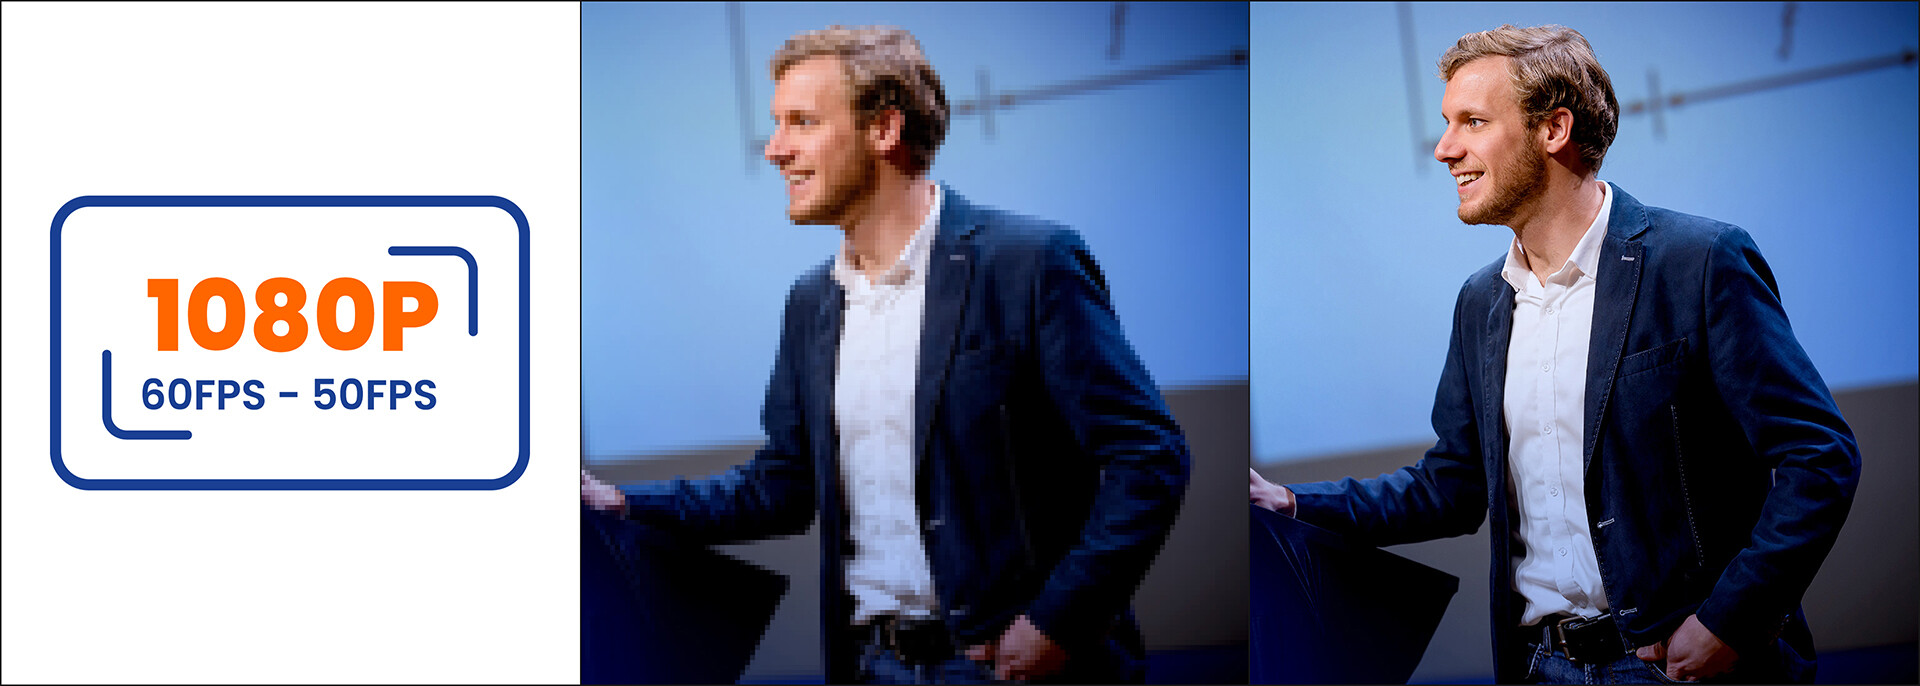
1. Compatible Output Resolution
- Open VIDEO FORMAT and select a resolution /frame‑rate all downstream devices support (e.g. 1080p60 or 1080p50).
- Avoid 30fps unless the entire chain is locked to it; fast motion looks choppy. 50fps or 60fps keep motion smooth.
- Apply the setting and reboot the camera so HDMI, SDI, IP and USB outputs synchronise.
2. Exposure & Light Sensitivity
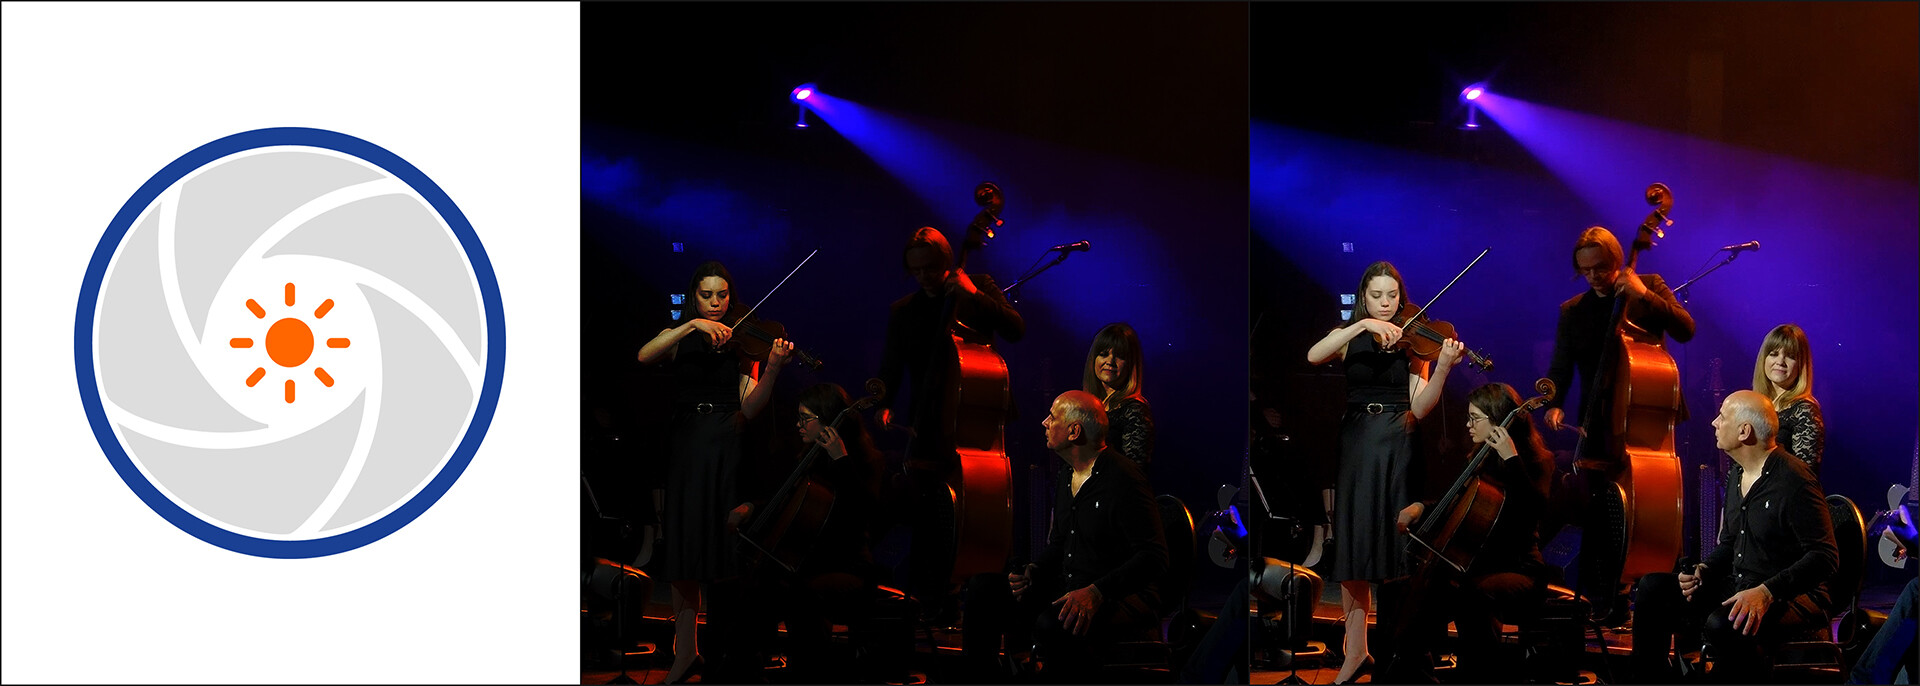
- Navigate to CAMERA > EXPOSURE > Mode and select AAE (Aperture Automatic Exposure) for a stable baseline.
- Set the iris to F3.4 – F4.0 for greater depth of field and sharper focus.
- If lighting varies widely, you may remain in AUTO. Keep G.Limit (Gain Limit) as low as the scene allows to avoid noise.
3. Consistent Focus
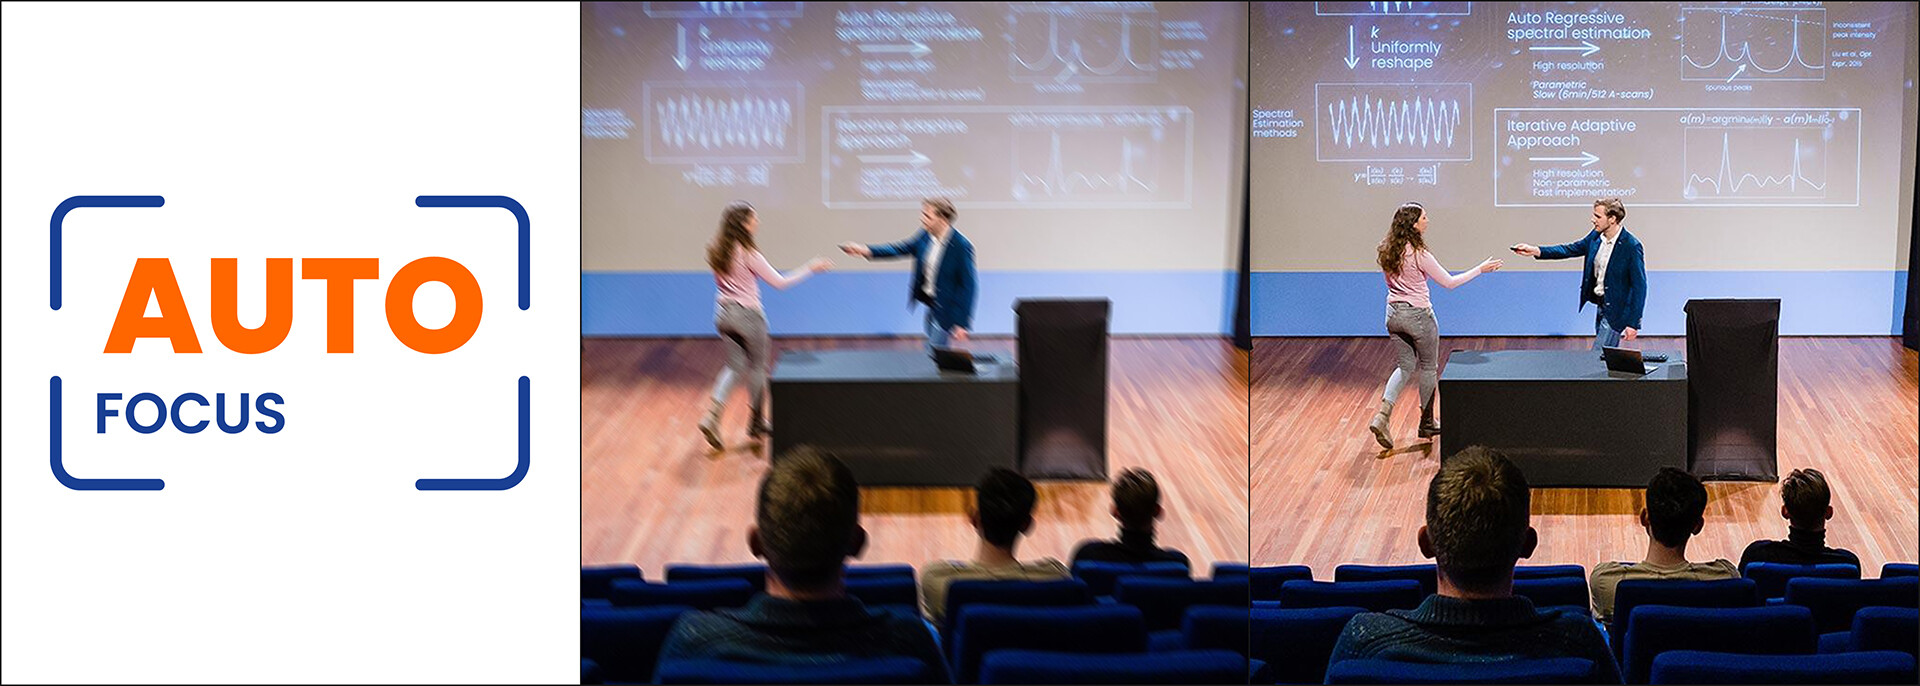
- Open CAMERA > FOCUS and start with MANUAL; adjust until the subject is sharp.
- Autofocus fallback: If the subject distance changes constantly (roaming speaker, rapid PTZ moves) switch to AUTO. In very low light the lens may briefly search for focus.
- Save a preset; the selected focus mode is stored with it.
4. Flicker‑Free Image
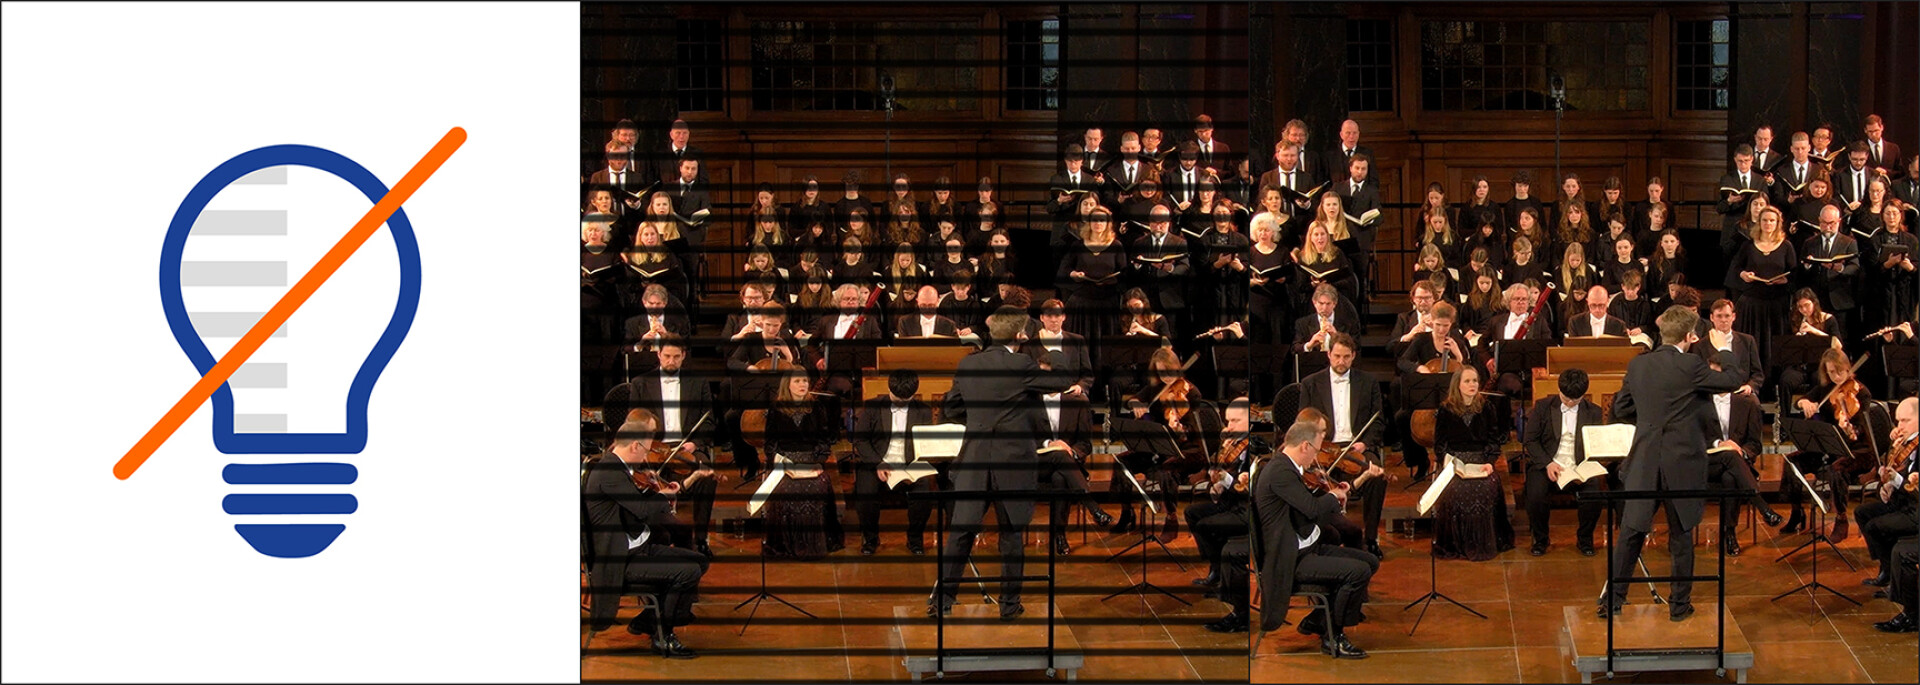
- Open CAMERA > EXPOSURE > Flicker and set 50Hz (Europe) or 60Hz (North America).
- If faint horizontal bands remain under LED or fluorescent fixtures, lock the shutter to 1/100s (with Flicker=50Hz) or 1/60s (with Flicker=60Hz).
5. Accurate Colour & White Balance
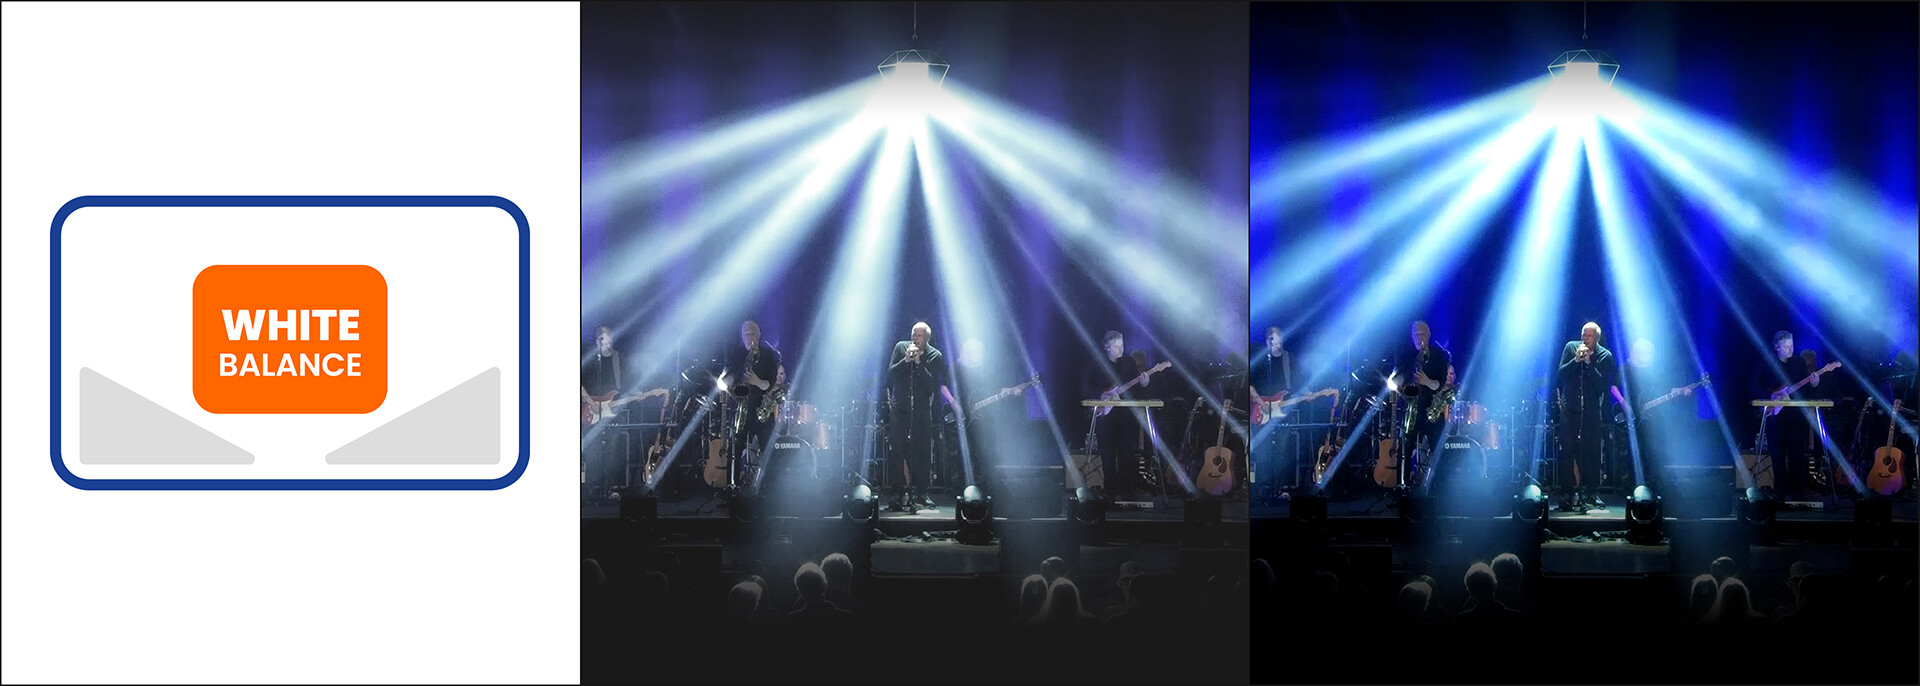
- Select COLOR > WB Mode > OnePush. Fill the frame with a white card and press Adjust to lock the white point.
- Open COLOR > Saturation and boost to 120% – 130% to restore vibrancy lost through IP compression.
- In case of changing lighting conditions (e.g. windows), choose auto white balance for the camera to adjust to the changing conditions.
6. Motion Clarity vs Low‑Light Brightness
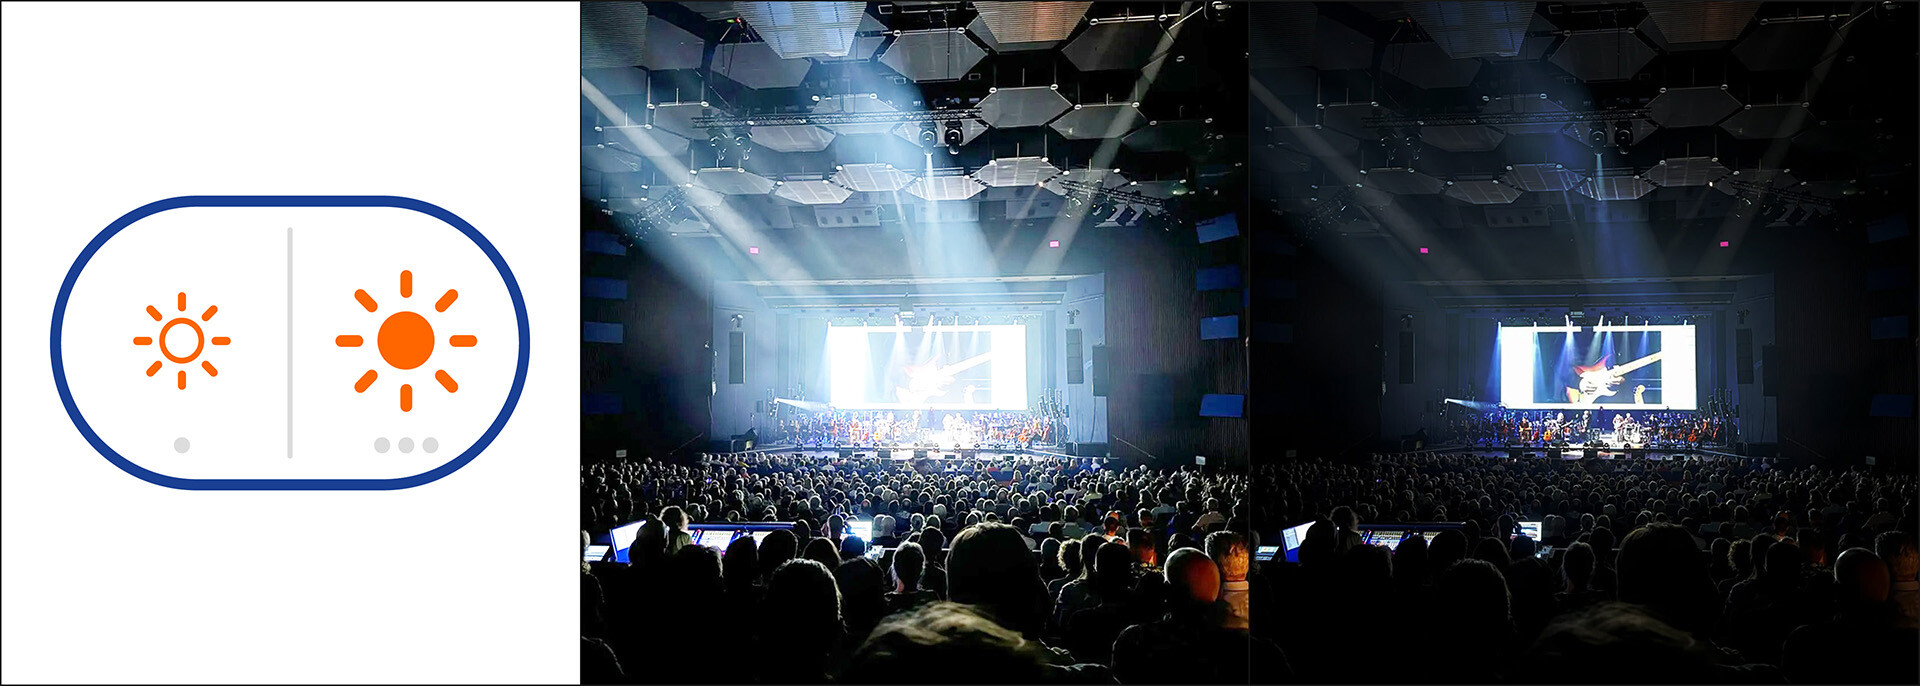
- Low‑light: Lower the output to 50fps; each frame lasts 20ms, allowing a 1/50s shutter that gathers 20% more light than 60fps.
- Fast‑action: Keep 60fps and set shutter to ≤1/250s; add front lighting rather than excessive gain.
- Dropping to 30fps is a last resort; viewers perceive it as stutter on pans or quick movement.
7. Low‑Noise Image
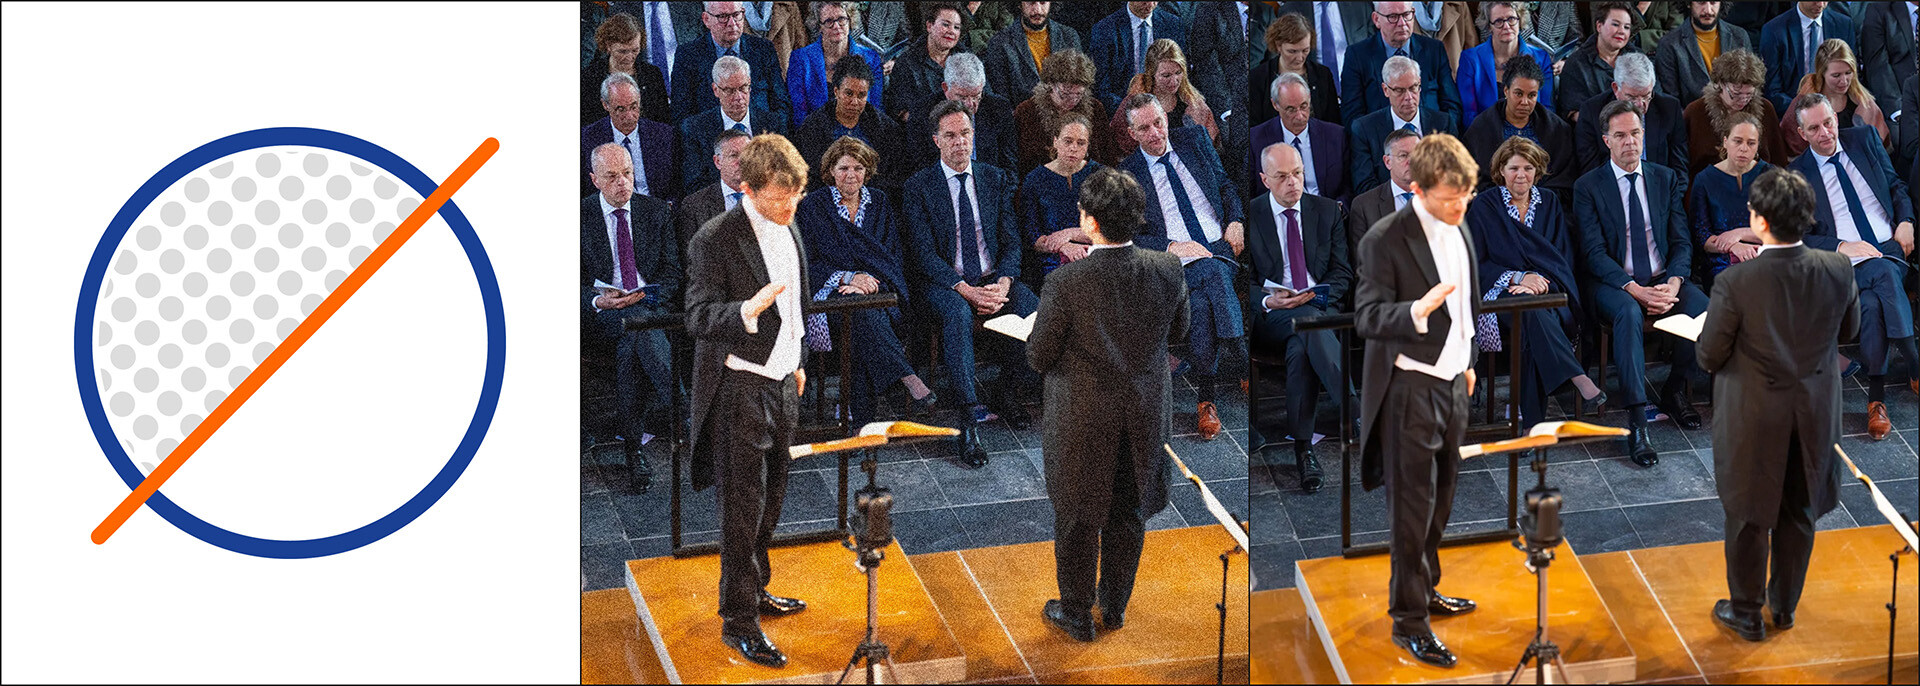
- Add light wherever possible before applying electronic corrections.
- Under CAMERA > NOISE REDUCTION (or VIDEO > Camera Settings > NR) select NR‑2D or NR‑3D and start at Low. Increase only until noise is acceptable; higher levels blur detail.
Saving Your Settings
- Save your settings in the camera.
- Only the focus settings are not stored in the camera but in the presets.
- The focus settings change automaticly 1) when recalling a preset, 2) when you use the manual zoom.
Emergency Reset
- Run OSD MENU > RESTORE DEFAULT > YES to revert all global settings to factory values.
- User presets may be cleared or preserved depending on model.
- After reset, repeat Objectives 1–7 and re-save any needed presets.