Stream Directly to YouTube with Avonic Cameras
YouTube Live is an easy way to reach your audience in real-time. Whether you're streaming a video game, hosting a live Q&A, or teaching a class, these tools will help you manage your stream and communicate with viewers in real-time. You can stream directly to YouTube with an Avonic camera, without the need for additional hardware. This manual applies to the CM40-IP and CM7x series Avonic cameras.
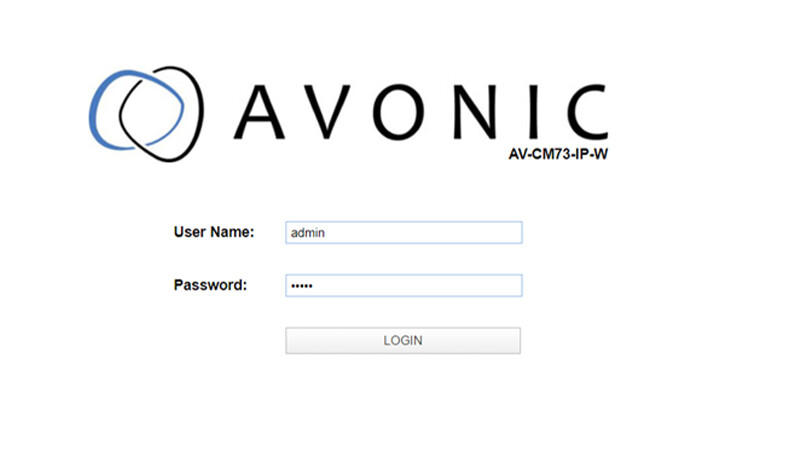
Log into the camera's WebGui, via your internet browser by entering the IP address into the URL bar.
Default IP: 192.168.5.163
Default User Name: admin
You can preview the camera stream and audio content using the ‘Preview’ function under the ‘Local’ tab:

Navigate to the ‘Audio’ tab and set the parameters as follows (these are optimal audio settings for streaming on the YouTube platform, as recommended by Google):
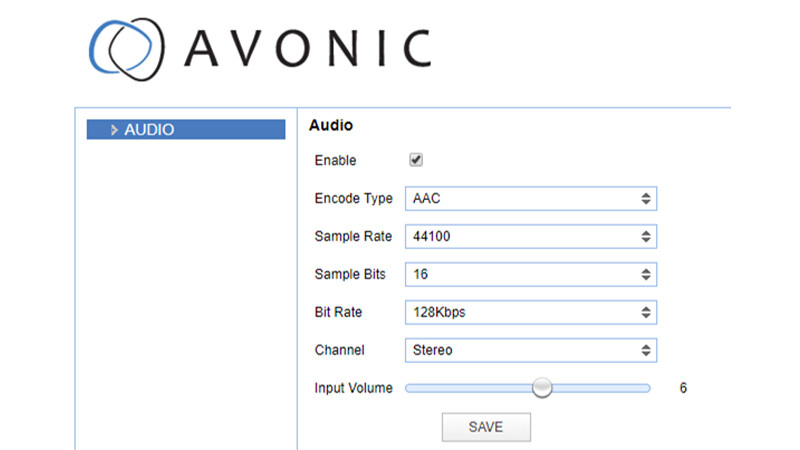
Click ‘Save’.
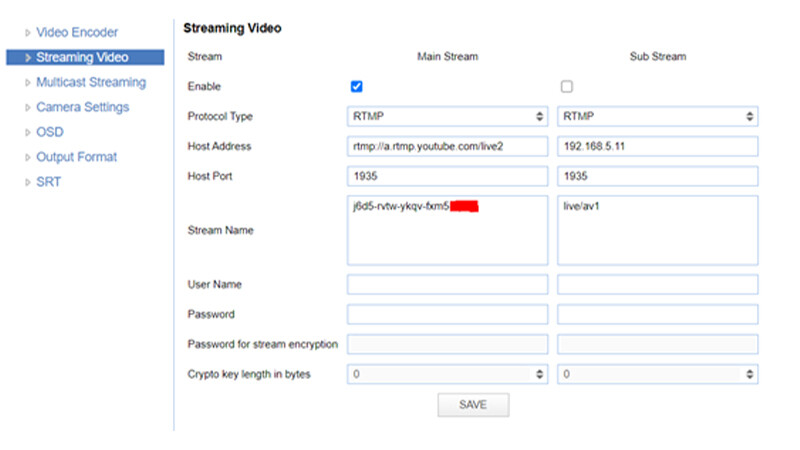
Next, go to the ‘Video’ tab and set the following settings under the ‘Streaming Video’ menu (you will need to set up the stream via your YouTube account, to obtain the below info):
Stream: Enable (checkbox)
Protocol type: RTMP
Host address: (‘Stream URL’ found in your YouTube account)
Host port: 1935
Stream name: (‘Stream Key’ found in your YouTube account)
Click ‘Save’.
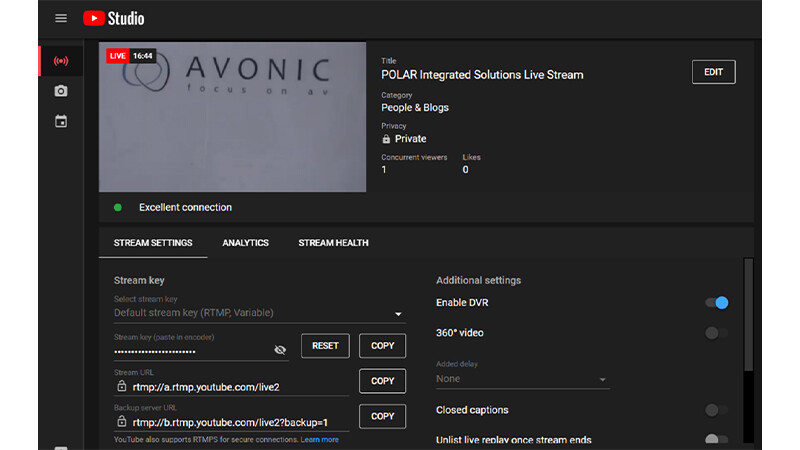
IP latency of Avonic cameras is extremely low, but keep in mind that YouTube shows quite a bit of latency in your stream.
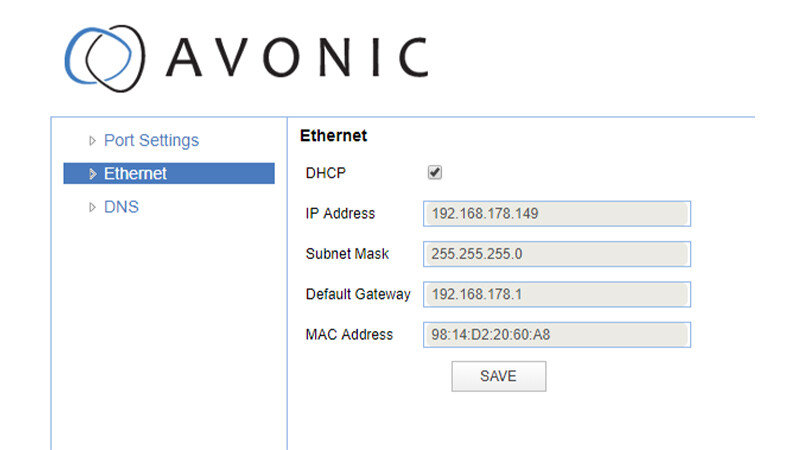
Go to the ‘Network’ tab and select the ‘Ethernet’ menu.
Make sure the camera is set to DHCP or a manually set address that can access the Internet on the local network.
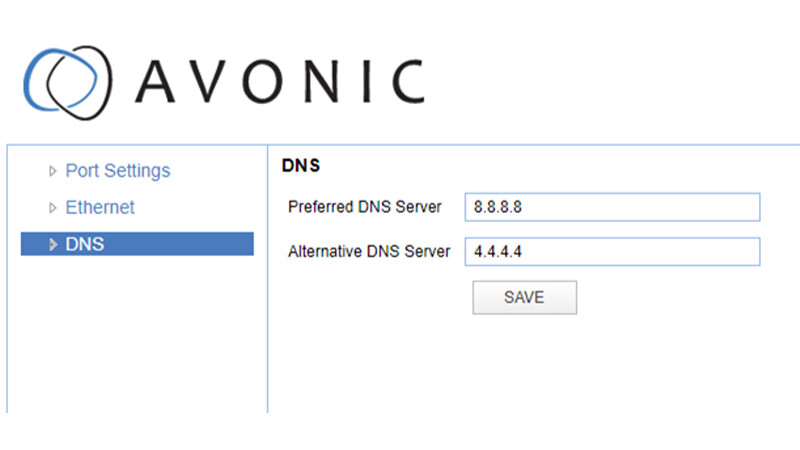
Set up a DNS server, you can use the default addresses 8.8.8.8 or 8.8.4.4 if you are unsure. Click ‘Save’.
Click ‘Save’. Restart the camera after changing these settings and you will be streaming live to YouTube.
These settings are retained, so there is no need to repeat this process once complete.